Getting your community set up with Portun is straightforward. This guide walks you through the process from creating your account to having guards scanning QR codes at the gate.
Step 1: Create Your Community Account
Visit app.portun.app and sign up as a community administrator. You will enter your community’s name, address, and basic configuration details. The free tier lets you get started immediately with up to 50 residents.
Step 2: Configure Your Gates
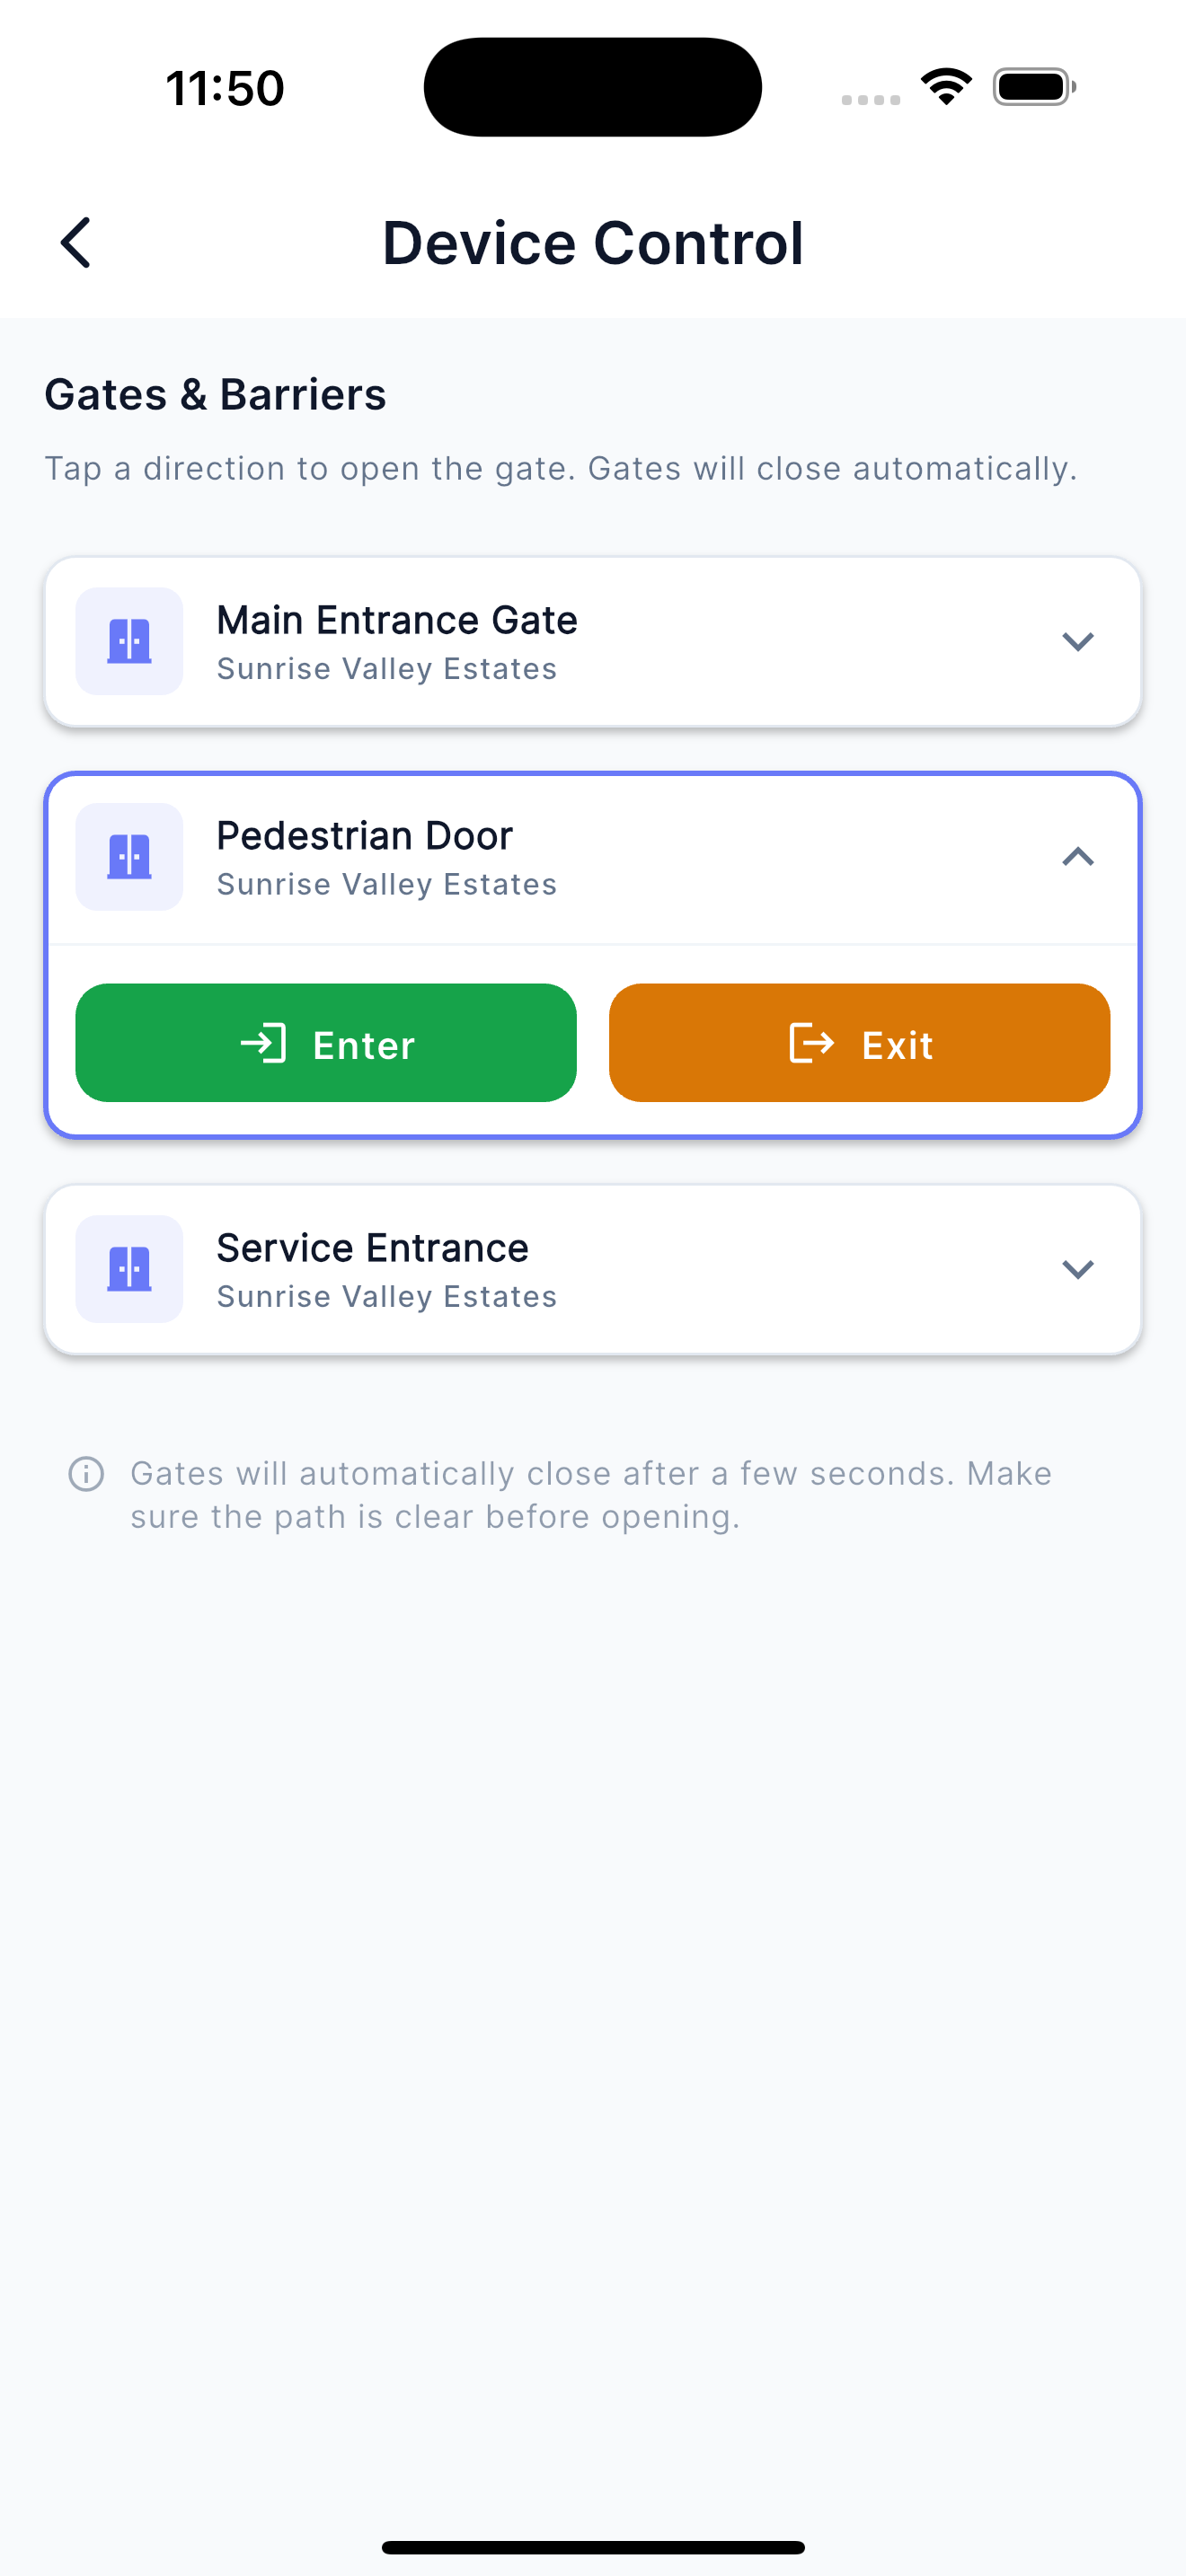
Add your community’s entry and exit points in the admin dashboard. If you have Shelly IoT devices installed at your gates, connect them through the integration settings for automated gate opening.
Step 3: Invite Residents
There are two ways to onboard residents:
- Email Invitations: Send invite links directly from the admin dashboard. Residents click the link, create their account, and are automatically assigned to your community.
- Registration Codes: Generate a community code that residents can use during self-registration in the app.
Step 4: Set Up Guard Stations
Guards download the Portun app and log in with their guard credentials. The app automatically configures itself as a scanning station. Train your guards on the simple scan workflow — point, scan, verify, and log.
The strength of any access control system is in how easily it is adopted. Portun is designed so that everyone from tech-savvy residents to first-time smartphone users can participate.
Step 5: Go Live
Once your residents and guards are onboarded, switch your community to active mode. Residents start generating QR codes for their visitors, and guards begin scanning at the gate. The admin dashboard gives you real-time visibility into all access events.
Tips for a Smooth Rollout
- Start with a pilot group: Onboard a small group of residents first to work out any questions before the full rollout.
- Communicate the benefits: Residents adopt faster when they understand how Portun makes their lives easier.
- Train guards in person: A 15-minute walkthrough with the guard team ensures consistent scanning procedures.
- Monitor the dashboard: Use the admin dashboard during the first week to identify any issues early.
Need help with setup? Reach out through our contact page and we will guide you through the process.